
Celbux South Africa is a free financial technology provider that facilitates the disbursement of money, on behalf of customers to anyone with a cellphone in a digital form. In the past, the National Student Financial Aid Scheme (NSFAS) used Celbux in South Africa to power its NSFAS Wallet system, previously known as Sbux which was used for TVET College students’ NSFAS allowances. Celbux South Africa in partnership with NSFAS made managing finances easier and accessible. Although Celbux NSFAS was recently shutdown by NSFAS last year, people are still curious about Celbux in South Africa. Read on to learn more about Celbux South Africa.
ALSO READ: How to Access NSFAS Wallet Via celbux.appspot.com
What is Celbux?
Celbux is a free financial technology provider that facilitates the disbursement of money, on behalf of customers to anyone with a cellphone in a digital form. This third party payment solution uses your cellphone in place of cash or a bank card.
The Sbux payment system uses a plugin, so if the plugin is not installed then Celbux payments will not work. In short, Sbux is an alternative to having a bank account.
How Does Celbux Work in South Africa?
Students withdraw money using Celbux system. You get a voucher number plus your own pin number from the sender to draw the money at selected retail store using the platform.
The platform was a great solution for many students who receive NSFAS allowances. Unlike banks that requires students to open a bank account for a simple transaction, South Africa’s Celbux channel would require only your cellphone number to create a digital wallet.
ALSO READ: How to Log Into Celbux South Africa
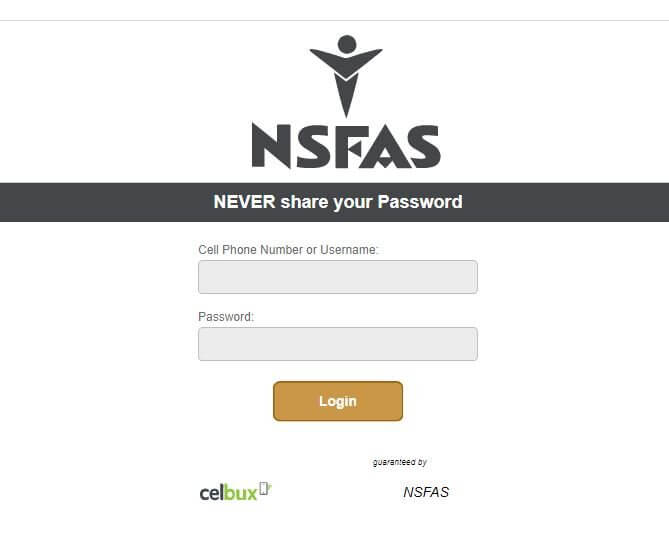
Celbux Login South Africa: How to Log Into Celbux
Never share your Celbux Login details with anyone. Make sure you keep your password safe. Here’s how to log into Celbux in South Africa:
- Step 1: Go to Celbux website https://celbux.appspot.com/
- Step 2: Enter your Cell Phone Number or Username and Password and click “Login”
- Step 3: Click “More”
- Step 4: Click “Transactions”
- Step 5: View transactions
Image Courtesy: Pixabay.com